
Craft Time: Making Your Own Piñata!
Craft Time: Making Your Own Piñata!
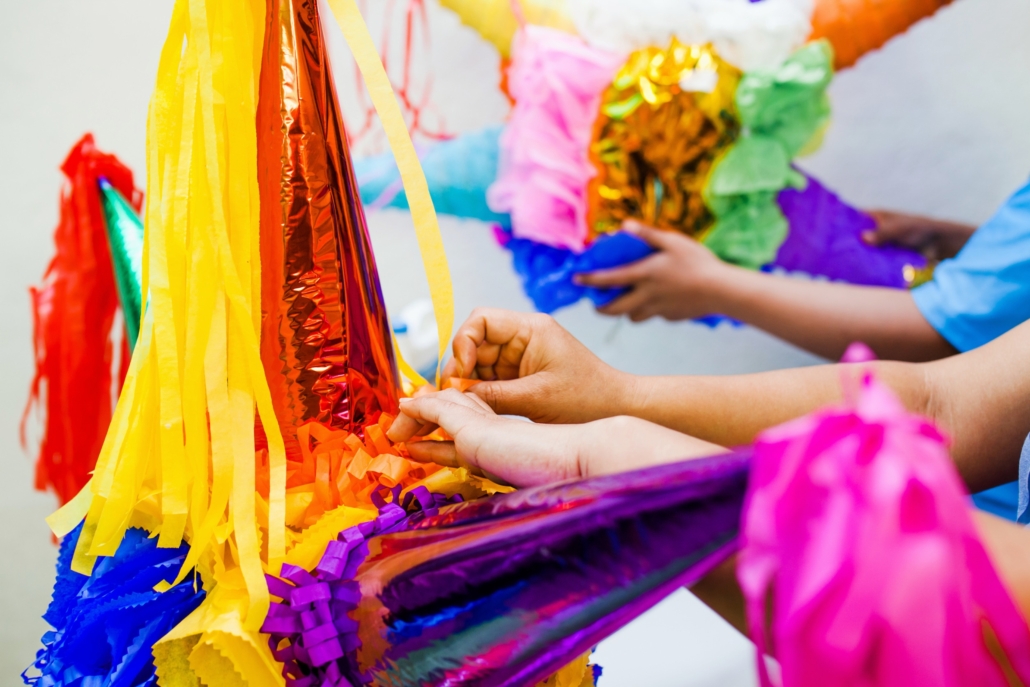
Hey there, young explorers and craft lovers! Are you ready for a fun, creative adventure? Today, we’re going to make our very own piñata! Piñatas are a blast at parties, and making one is just as exciting. So, gather your craft supplies, roll up your sleeves, and let’s dive into this colorful world of paper and glue!
What You’ll Need:
- Balloons (one big one for the body of the piñata)
- Newspaper (cut into strips)
- Flour and water (for your homemade glue)
- Colored crepe paper or tissue paper (for decoration)
- String (to hang your piñata)
- Scissors (ask an adult to help with this)
- A brush or a spoon (for applying the glue)
- Candies and small toys (for filling the piñata)
- A safe, open space (where you can get messy!)
Step 1: Blow Up Your Balloon
First, blow up your balloon. This will be the base of your piñata. Make it as big as you want your piñata to be!
Step 2: Make Your Glue
Mix flour and water to create a simple, non-toxic glue. It should be smooth and not too runny.
Step 3: Apply the Newspaper Strips
Dip the newspaper strips into the glue and start covering the balloon. Smooth out the strips as you go. Cover the entire balloon except for a small area at the top – you’ll need this to add the candies later.
Step 4: Let It Dry
Find a nice spot to hang your balloon (maybe outside or in the garage) and let it dry completely. This might take a day or two, so be patient!
Step 5: Pop the Balloon
Once dry, pop the balloon and remove it through the opening you left. Now you have your piñata base!
Step 6: Decorate Your Piñata
Cut the colored crepe or tissue paper into long strips, then make fringes by cutting into one side. Glue these strips onto your piñata, starting from the bottom and working your way up. Get creative with your colors!
Step 7: Fill It Up
Once decorated, fill your piñata with candies and small toys through the opening at the top. Don’t overfill it, or it might be too heavy!
Step 8: Seal and Hang
Seal the top with some leftover newspaper strips and glue. Attach a strong string or rope to hang your piñata. Make sure it’s secure!
Step 9: Piñata Party Time!
Now, it’s time to enjoy! Hang your piñata during your next party and have a blast breaking it open with friends.
Conclusion: A Piñata Full of Memories
Congratulations! You’ve just made your very own piñata. This isn’t just a party accessory; it’s a container full of joy and memories you’ve created yourself. Remember, the best part about making a piñata is putting a piece of yourself into its creation. Every snip, every brushstroke is a reflection of your fun and creativity.
So, next time you have a celebration, remember that you can always add a personal touch with a homemade piñata. Happy crafting and happy partying, kids!
Happy Piñata Making!

Founder and Director of Education at Language Kids.
M. Ed.

Leave a Reply
Want to join the discussion?Feel free to contribute!